How-To: Deploy an Application to Azure Container Instances
Categories:
This how-to guide will provide an overview of how to:
- Configure and deploy a Radius Environment that uses Azure Container Instances (ACI) as the compute provider.
- Define and deploy the demo application to the ACI Radius Environment, which provisions the necessary resources to run the application in ACI.
Prerequisites
- rad CLI The Bicep extension for VS Code is recommended for Bicep language support
- Radius installed on a supported Kubernetes cluster
- An Azure provider configured and registered with your Radius control plane, either through Service Principal or Workload Identity that have been assigned to the
Readerrole on the subscription and theContributorrole on the resource group where the ACI containers will be deployed - A managed identity is required for ACI deployments, if you choose to utilize a user-assigned managed identity then you need to ensure it is assigned to the
ContributorandAzure Container Instances Contributorroles on the subscription and resource group where the ACI containers will be deployed
Step 1: Create a Radius Resource Group and Workspace
Since the Radius control plane is hosted on your Kubernetes cluster, you’ll need to create a new Radius Resource Group and Workspace so that you can target your application deployments to an ACI Environment. These will then be associated with the ACI Environment that you will configure and create in subsequent steps.
Create a new Radius Workspace called
aci-workspace:rad workspace create kubernetes aci-workspaceThen, create a new Radius Resource Group called
aciGroupand switch to it:rad group create aciGroup rad group switch aciGroupFinally, create a new ACI Environment within the
aci-workspaceworkspace you just created and switch to it:rad env create aci-demo -w aci-workspace rad env switch aci-demo
Step 2: Define the Environment with ACI compute
Create a new file named env.bicep and add the following Environment definition. This Environment uses the aci compute provider and a user-assigned managed identity to provision the necessary resources for ACI and also registers a default Recipe for provisioning an Azure Redis Cache.
extension radius

resource env 'Applications.Core/environments@2023-10-01-preview' = {
  name: 'aci-demo'
  properties: {
    compute: {
      kind: 'aci'
      // Replace value with your resource group ID
      resourceGroup: '/subscriptions/<>/resourceGroups/<>'
      identity: {
        kind:'userAssigned'
        // Replace value with your managed identity resource ID
        managedIdentity: ['/subscriptions/<>/resourceGroups/<>/providers/Microsoft.ManagedIdentity/userAssignedIdentities/<>']
      }
    }
    recipes: {
      'Applications.Datastores/redisCaches': {
        default: {
          templateKind: 'bicep'
          plainHttp: true
          templatePath: 'ghcr.io/radius-project/recipes/azure/rediscaches:latest'
        }
      }
    }
    providers: {
      azure: {
        // Replace value with your resource group ID
        scope: '/subscriptions/<>/resourceGroups/<>'
      }
    }
  }
}
Note: be sure to replace the
resourceGroupandscopevalues with your resource group ID and themanagedIdentityvalue with your managed identity resource ID.
Step 3: Deploy the Environment
Run the following command to deploy the Environment and associate it with the
aci-workspaceyou created in the previous step:rad deploy ./env.bicep --workspace aci-workspaceYou should see the following terminal output:
Deployment In Progress...

Deployment Complete

Resources:
aci-demo Applications.Core/environments
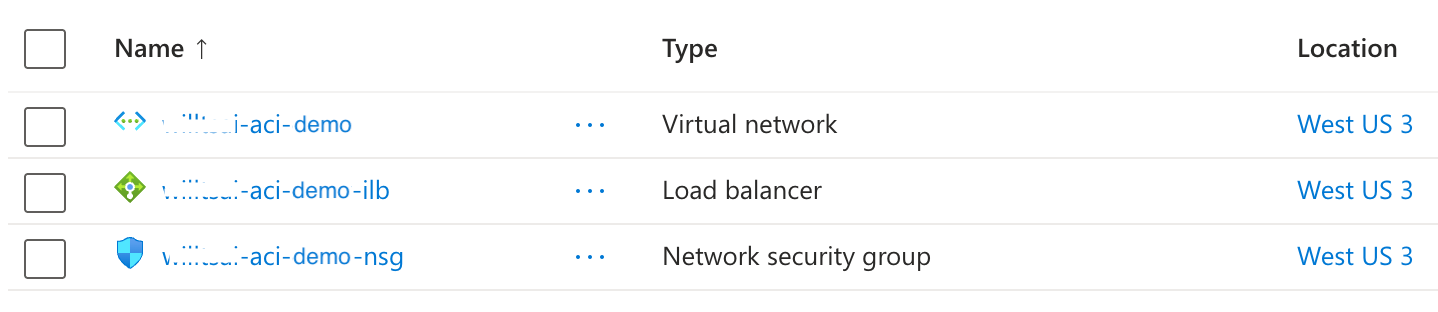
Navigate to your resource group in the Azure portal and you should see the relevant Azure resources that were provisioned by Radius for your ACI Radius Environment, including the virtual network, internal load balancer, and network security group:
Step 4: Define the Application and its resources
Create a file named app.bicep and add the application definition, along with Redis cache, gateway, and container resources to the file:
extension radius

param environment string = 'aci-demo'

resource app 'Applications.Core/applications@2023-10-01-preview' = {
  name: 'demo-app'
  properties: {
    environment: environment
  }
}

resource redis 'Applications.Datastores/redisCaches@2023-10-01-preview' = {
  name: 'database'
  properties: {
    environment: environment
    application: app.id
  }
}

resource gateway 'Applications.Core/gateways@2023-10-01-preview' = {
  name: 'gateway'
  properties: {
    application: app.id
    routes: [
      {
        path: '/'
        destination: 'http://frontend:3000'
      }
    ]
  }
}

resource frontend 'Applications.Core/containers@2023-10-01-preview' = {
  name: 'frontend'
  properties: {
    application: app.id
    container: {
      image: 'ghcr.io/radius-project/samples/demo:latest'
      ports: {
        web: {
          containerPort: 3000
        }
      }
    }
    connections: {
      redis: {
        source: redis.id
      }
    }
    extensions: [
      {
        kind:  'manualScaling'
        replicas: 2
      }
    ]
    runtimes: {
      aci: {
        gatewayID: gateway.id
      }
    }
  }
}
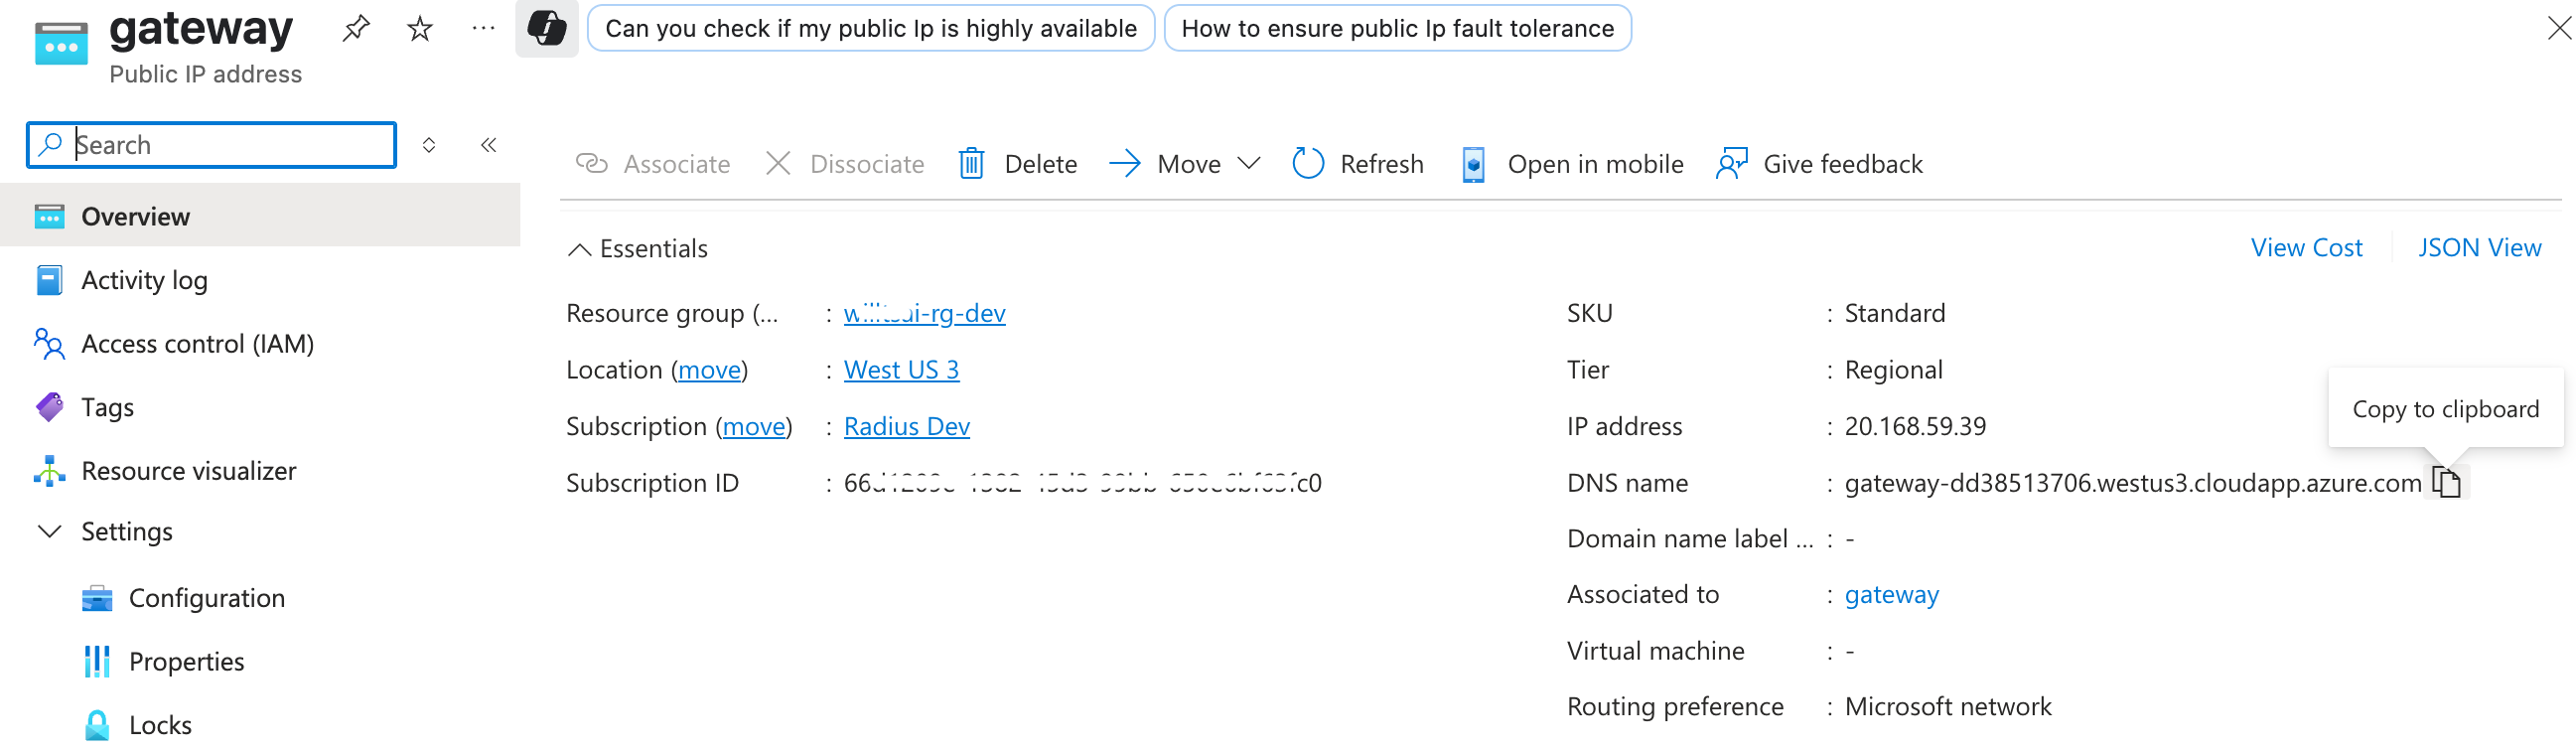
Notice that for ACI containers, you define a Gateway resource that provides L7 traffic for the container. Radius will provision an Azure Application Gateway on your behalf and configure the container to use the Gateway as its ingress. The Gateway will be provisioned with a public IP address and a DNS name that you can use to access the application.
Step 5: Deploy the Application
Run the following command to deploy the application:
rad deploy ./app.bicep --workspace aci-workspace
Note that you are deploying the application specifically targeting the
aci-workspaceyou had created in a previous step, which ensures that your application gets deployed to the ACI Environment. The same application can also be targeted to deploy into a workspace associated with a Kubernetes Radius Environment instead.
Once the deployment succeeds, you should see the following terminal output:
Deployment In Progress...

Completed            database        Applications.Datastores/redisCaches
Completed            gateway         Applications.Core/gateways
Completed            demo-app        Applications.Core/applications
..                   frontend        Applications.Core/containers

Deployment Complete

Resources:
    demo-app        Applications.Core/applications
    frontend        Applications.Core/containers
    gateway         Applications.Core/gateways
    database        Applications.Datastores/redisCaches

Public Endpoints:
    gateway         Applications.Core/gateways http://gateway.demo-app.4.149.194.115.nip.io
Step 6: View the deployed resources
Now you can check the Radius application graph in your terminal to view resources that were provisioned for your application:
rad app graph -a demo-app
You should see the following output:
Displaying application: demo-app

Name: frontend (Applications.Core/containers)
Connections:
  gateway (Applications.Core/gateways) -> frontend
  frontend -> database (Applications.Datastores/redisCaches)
Resources:
  frontend (Microsoft.ContainerInstance/containerGroupProfiles)
  frontend (Microsoft.ContainerInstance/nGroups)
  frontend (Microsoft.Network/loadBalancers/applications)
  frontend (Microsoft.Network/virtualNetworks/subnets)

Name: gateway (Applications.Core/gateways)
Connections:
  gateway -> frontend (Applications.Core/containers)
Resources:
  gateway (Microsoft.Network/applicationGateways)
  gateway-nsg (Microsoft.Network/networkSecurityGroups)
  gateway (Microsoft.Network/publicIPAddresses)
  gateway (Microsoft.Network/virtualNetworks/subnets)

Name: database (Applications.Datastores/redisCaches)
Connections:
  frontend (Applications.Core/containers) -> database
Resources:
  cache-vxkt2iou25nht (Microsoft.Cache/redis)
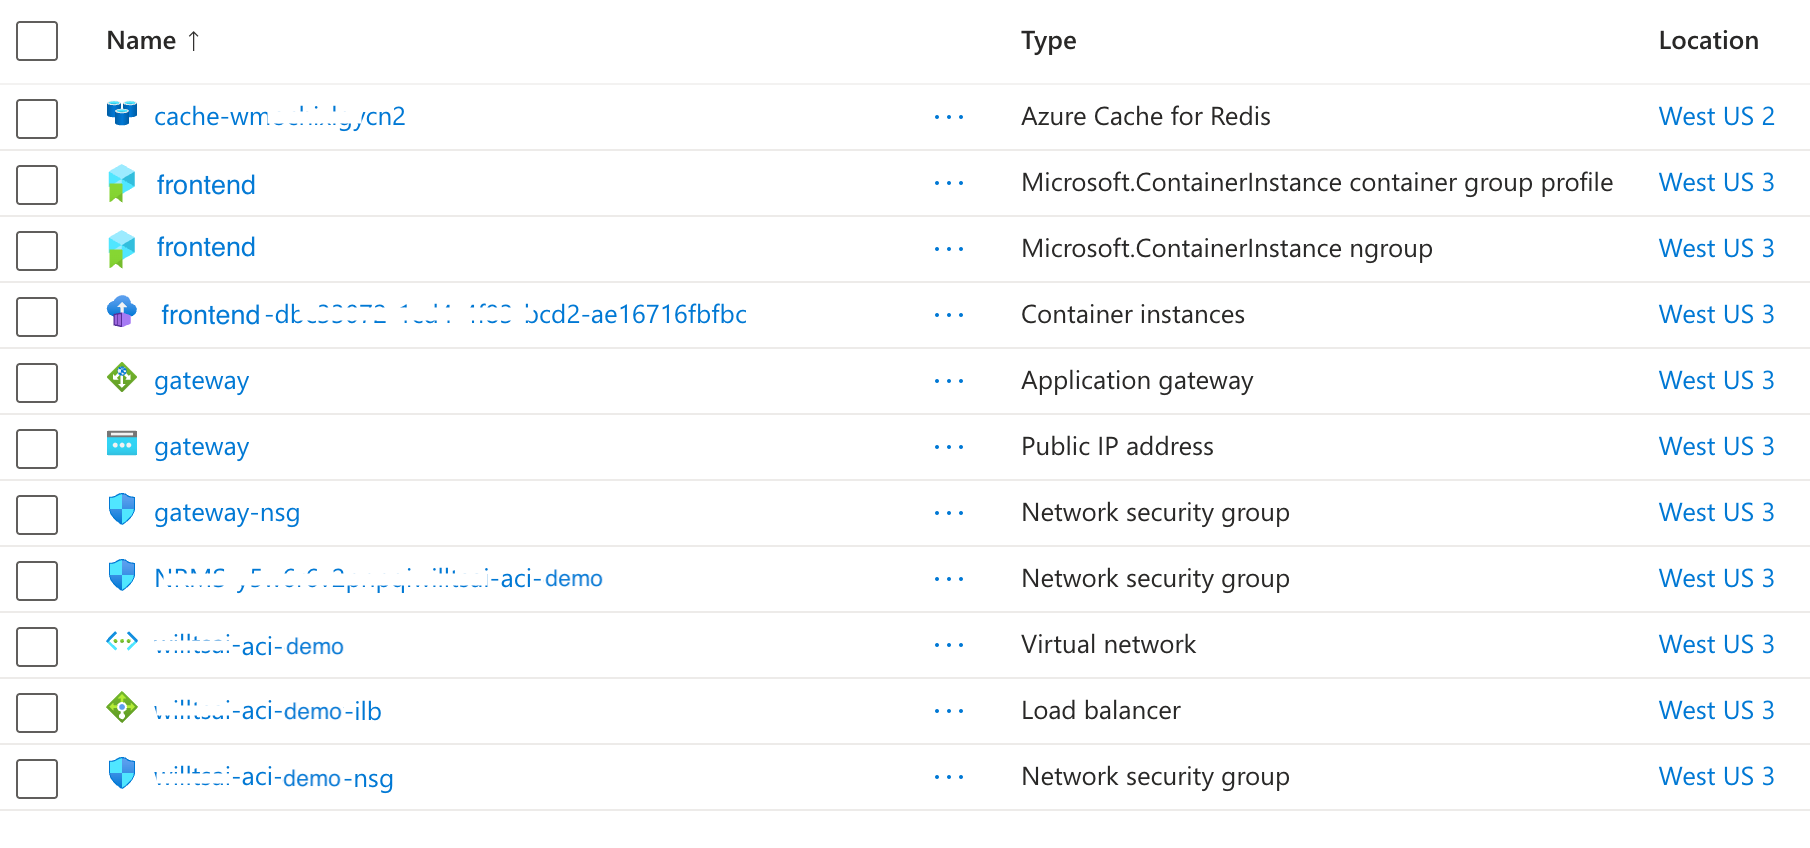
Navigate to your resource group in the Azure portal and you should see the relevant Azure resources that were provisioned by Radius for your application, including the container instance, container group profile, Ngroup, load balancer, virtual network, and network security groups that are required for the application to run on ACI:
Step 7: Browse the Application
In your Azure portal, click on the Gateway public IP address resource and you should see the public IP address of the Gateway resource. This is the public DNS name that you can use to access your application. Copy the public DNS name.
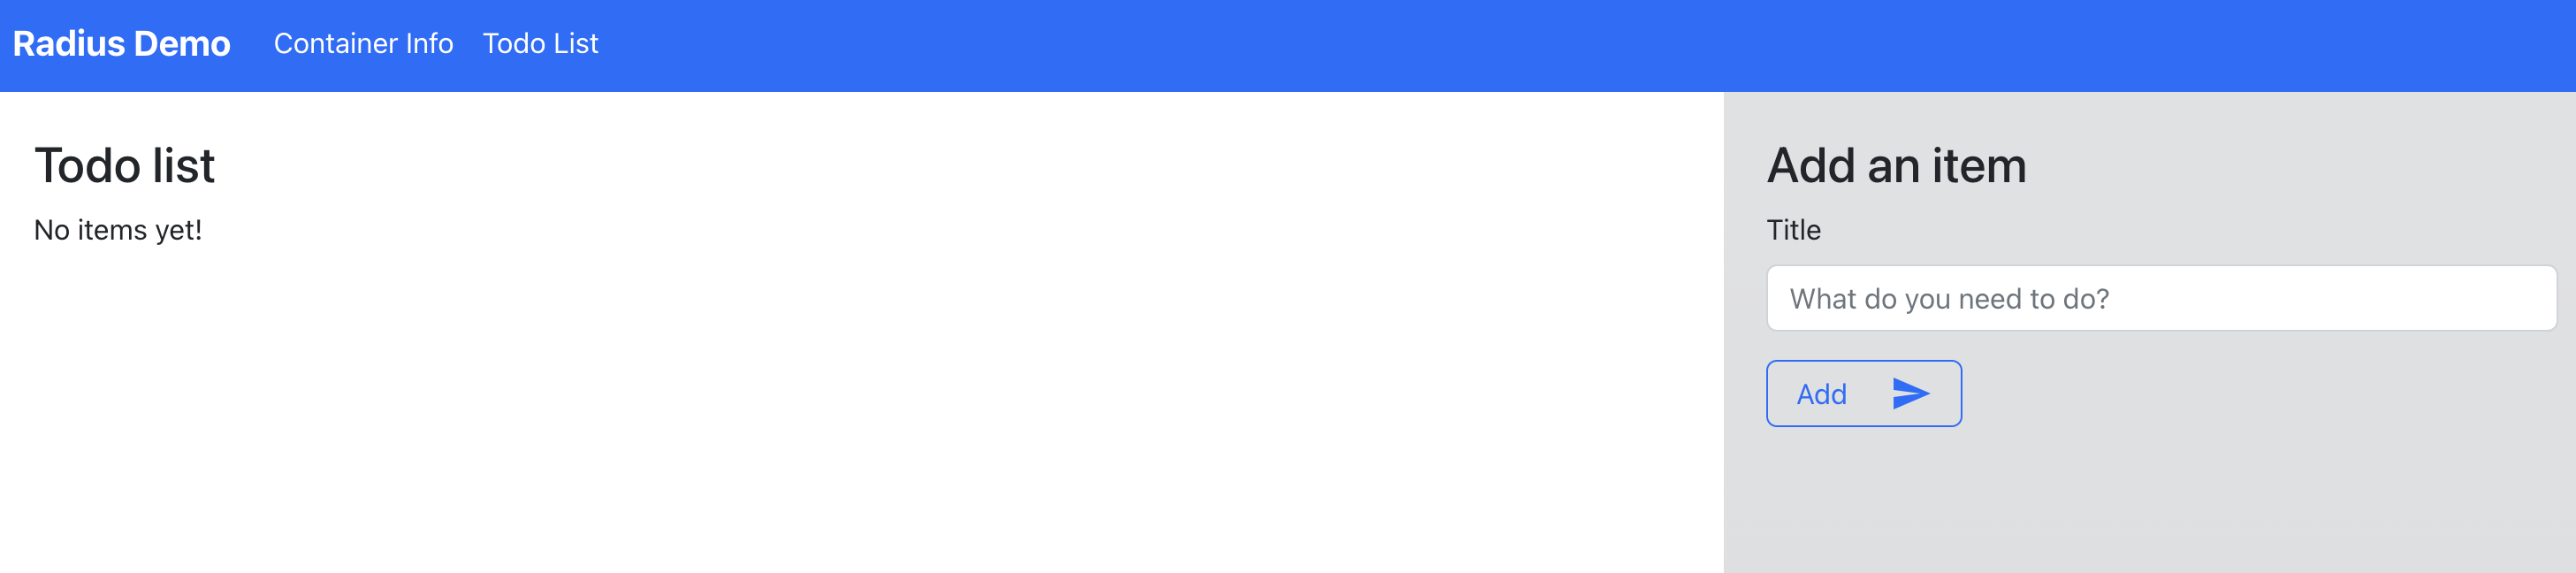
Open a web browser and in the address bar paste in the public DNS name of the Gateway resource that you just copied with a :3000 appended to that address, as the application container is exposed to users on port 3000. You should see the demo application landing page showing that your application is running on your Azure Container Instance, along with some information about its containers and resources.
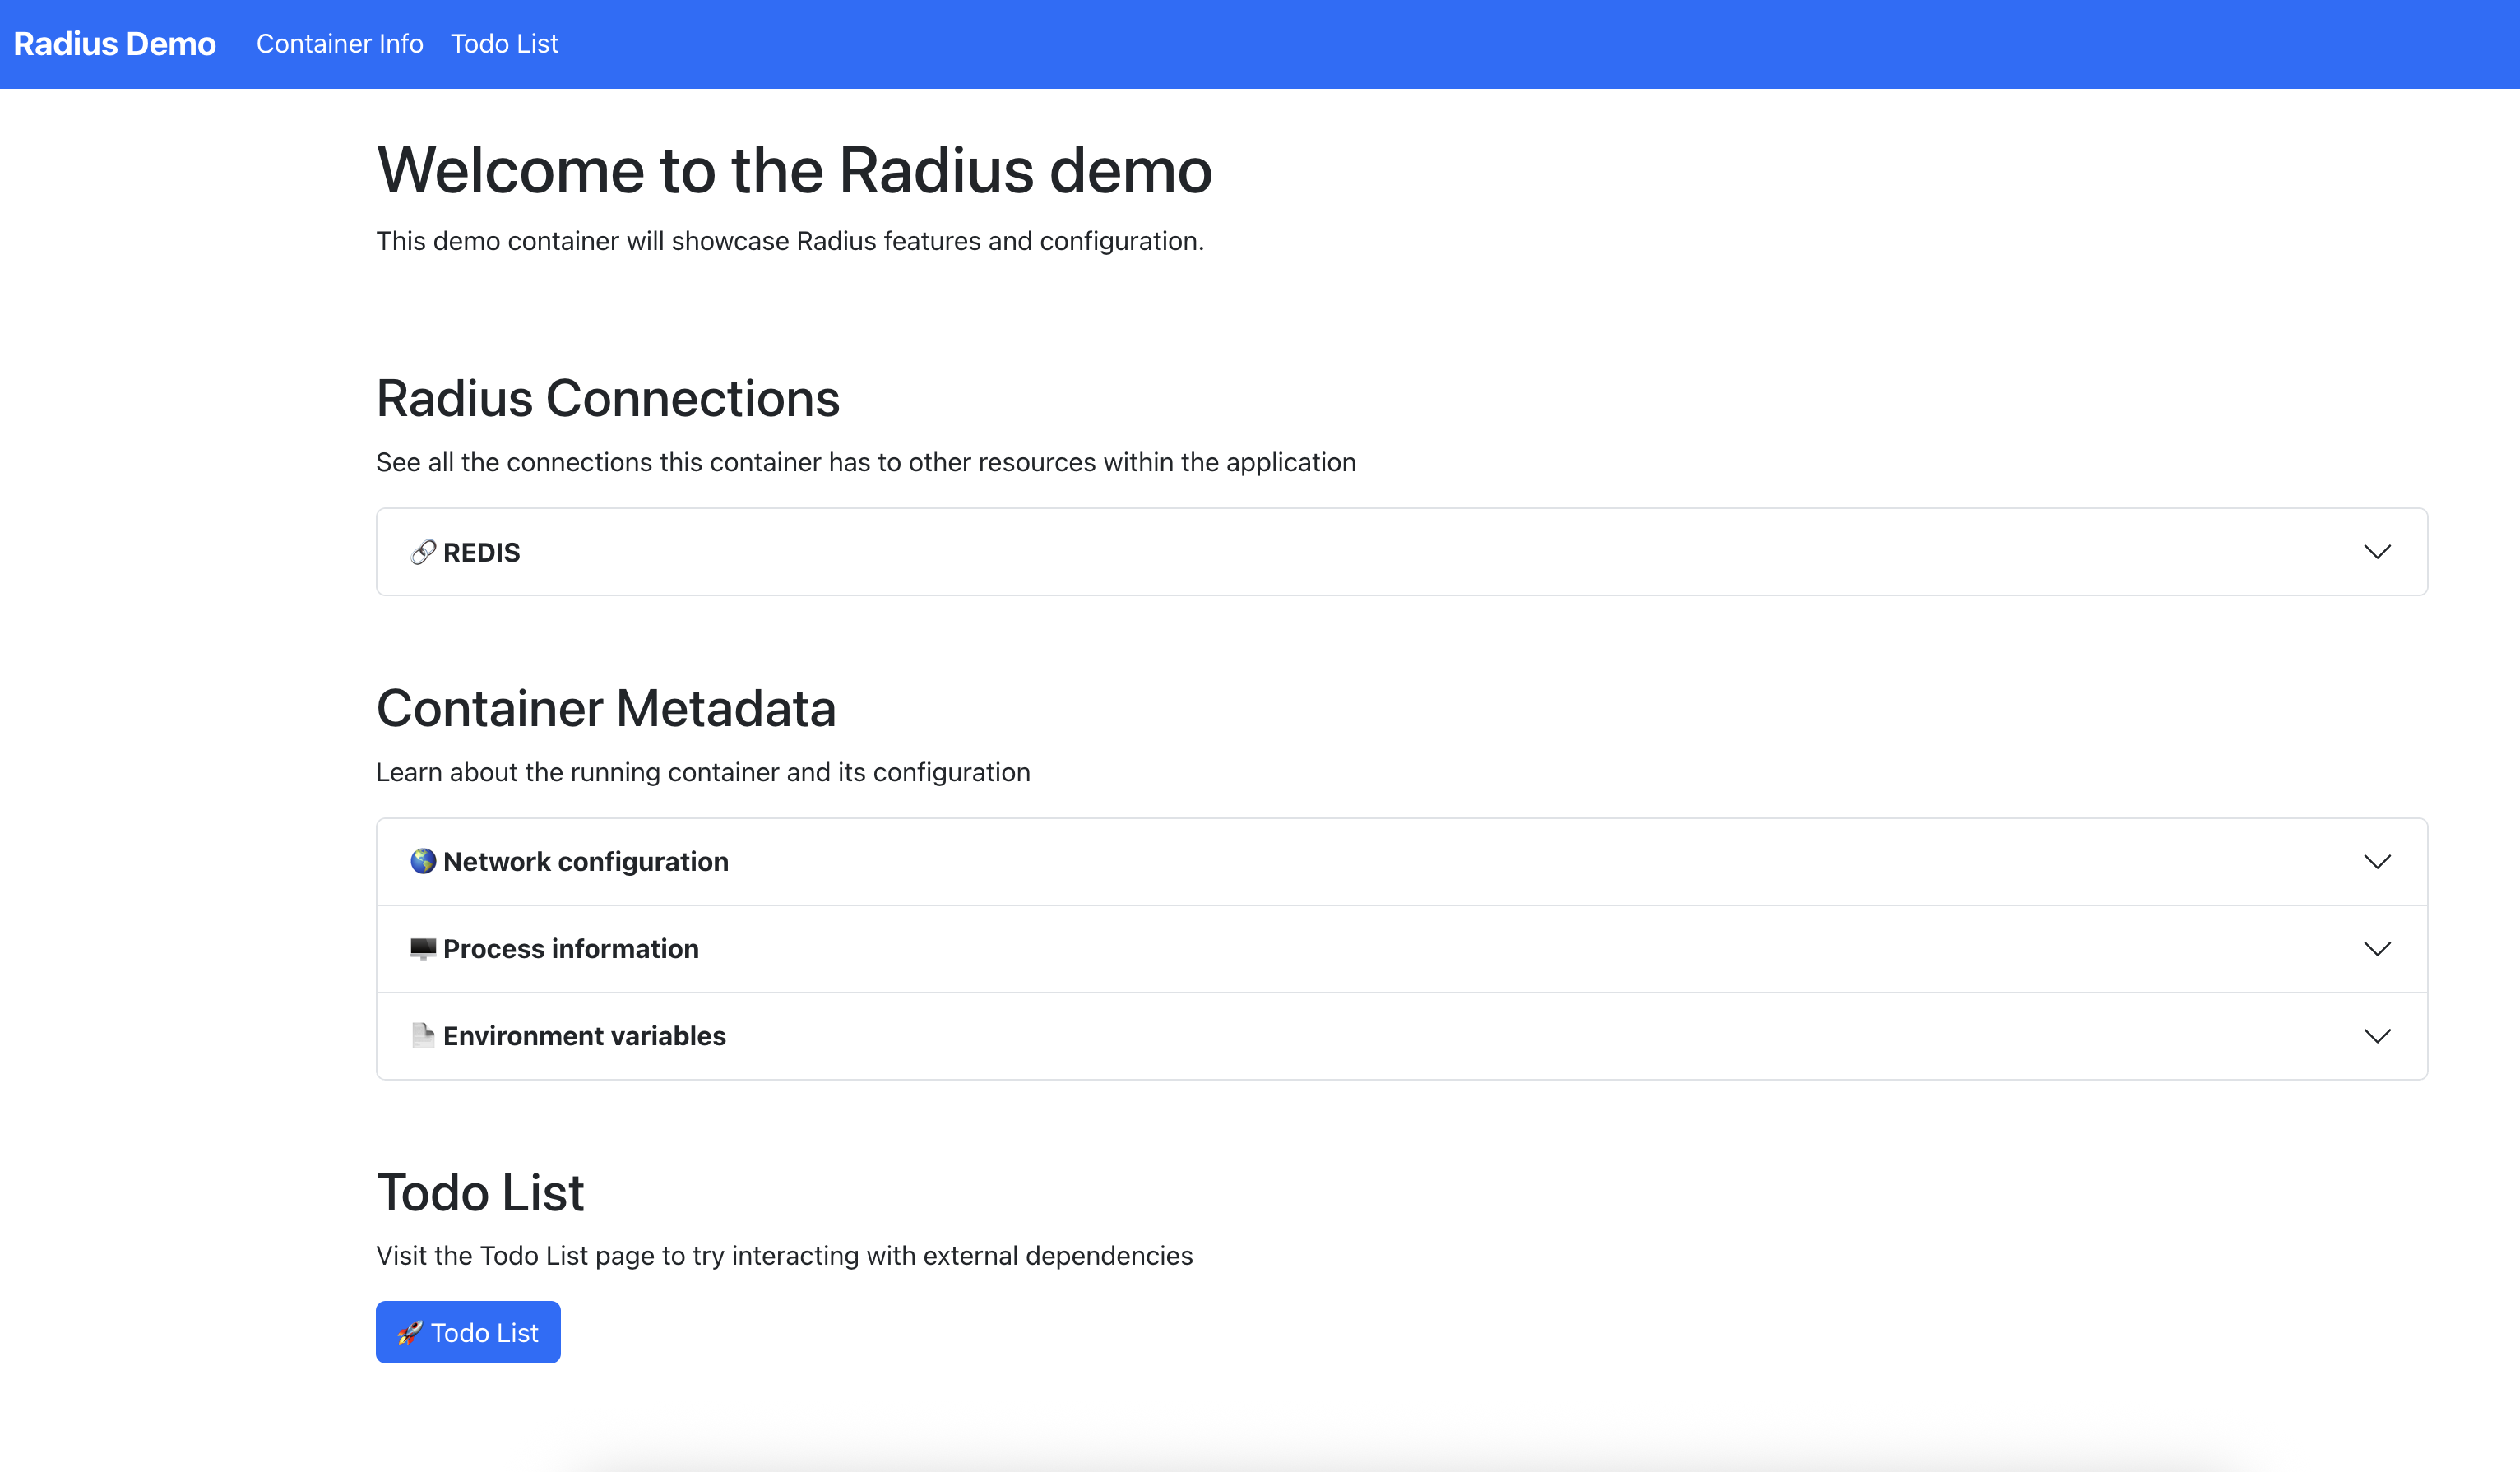
Navigate to the Todo List tab and test out the application. Using the Todo page will update the saved state in your Azure Redis cache.
Cleanup
Run the following command to delete your app and its container and Redis cache resources:
rad app delete demo-app --yesRun the following command to delete your environment:
rad env delete aci-env --yesRun the following command to delete your workspace:
rad workspace delete aci-workspace --yesFinally, navigate to your Azure portal and delete the related resources that were created for the ACI Environment, namely the virtual network, internal load balancer, and network security group. You can also delete the resource group if you no longer need it.
Further reading
Feedback
Was this page helpful?
Glad to hear it! Please feel free to star our repo and join our Discord server to stay up to date with the project.
Sorry to hear that. If you would like to also contribute a suggestion visit and tell us how we can improve.