How-To: Interact with the Radius API in Postman
Categories:
This guide will show you how to use Postman to interact with the Radius API. Postman is a popular tool for interacting with REST APIs, and it can be used to explore the Radius API without writing any code.
Prerequisites
Before you get started, you’ll need to make sure you have the following tools and resources:
Step 1: Create Kubernetes objects
Radius uses the Kubernetes API aggregation layer to expose its API, so while Radius is not a Kubernetes operator itself, it leverages the Kubernetes platform to expose its own API.
To access the Radius API, begin by creating the necessary Kubernetes objects.
Create a new file named
postman.yamland add the following contents:apiVersion: v1 kind: ServiceAccount metadata: name: postman-account namespace: radius-system --- apiVersion: rbac.authorization.k8s.io/v1 kind: ClusterRole metadata: name: postman-role namespace: radius-system rules: - apiGroups: ["", "api.ucp.dev"] resources: ["*"] verbs: ["*"] --- apiVersion: rbac.authorization.k8s.io/v1 kind: ClusterRoleBinding metadata: name: postman-role-binding namespace: radius-system subjects: - kind: ServiceAccount name: postman-account namespace: radius-system roleRef: kind: ClusterRole name: postman-role apiGroup: rbac.authorization.k8s.ioSave the file and then apply it using the following command:
kubectl apply -f postman.yamlThis will create a
ServiceAccountnamedpostman-account, aClusterRolenamedpostman-rolewith full access to allapi.ucp.devresources, and aClusterRoleBindingnamedpostman-role-bindingthat binds thepostman-accountto thepostman-role.
Step 2: Generate a token
Now that you have created the necessary Kubernetes objects, you can generate a token that can be used to authenticate to the Kubernetes API.
Run the following command to generate a token for the
postman-accountservice account:kubectl create token postman-account -n radius-systemThis will create a token with the default expiration time of 1 hour. If you want to set a different expiration time, you can use the
--durationflag to specify a duration in seconds (up to 48 hours).
Step 3: Use Postman
Next, you’ll need to get the control plane API endpoint and use Postman to interact with the Radius API.
Begin by getting your cluster endpoint:
kubectl cluster-infoThis will output information about your Kubernetes cluster, including the control plane API endpoint:
Kubernetes control plane is running at https://kubernetes.docker.internal:6443
CoreDNS is running at https://kubernetes.docker.internal:6443/api/v1/namespaces/kube-system/services/kube-dns:dns/proxy
Open Postman and create a new request
Set the method to
GETSet the URL to the following, which will retrieve all your resource groups:
<your-cluster-control-plane>/apis/api.ucp.dev/v1alpha3/planes/radius/local/resourcegroups?api-version=2023-10-01-preview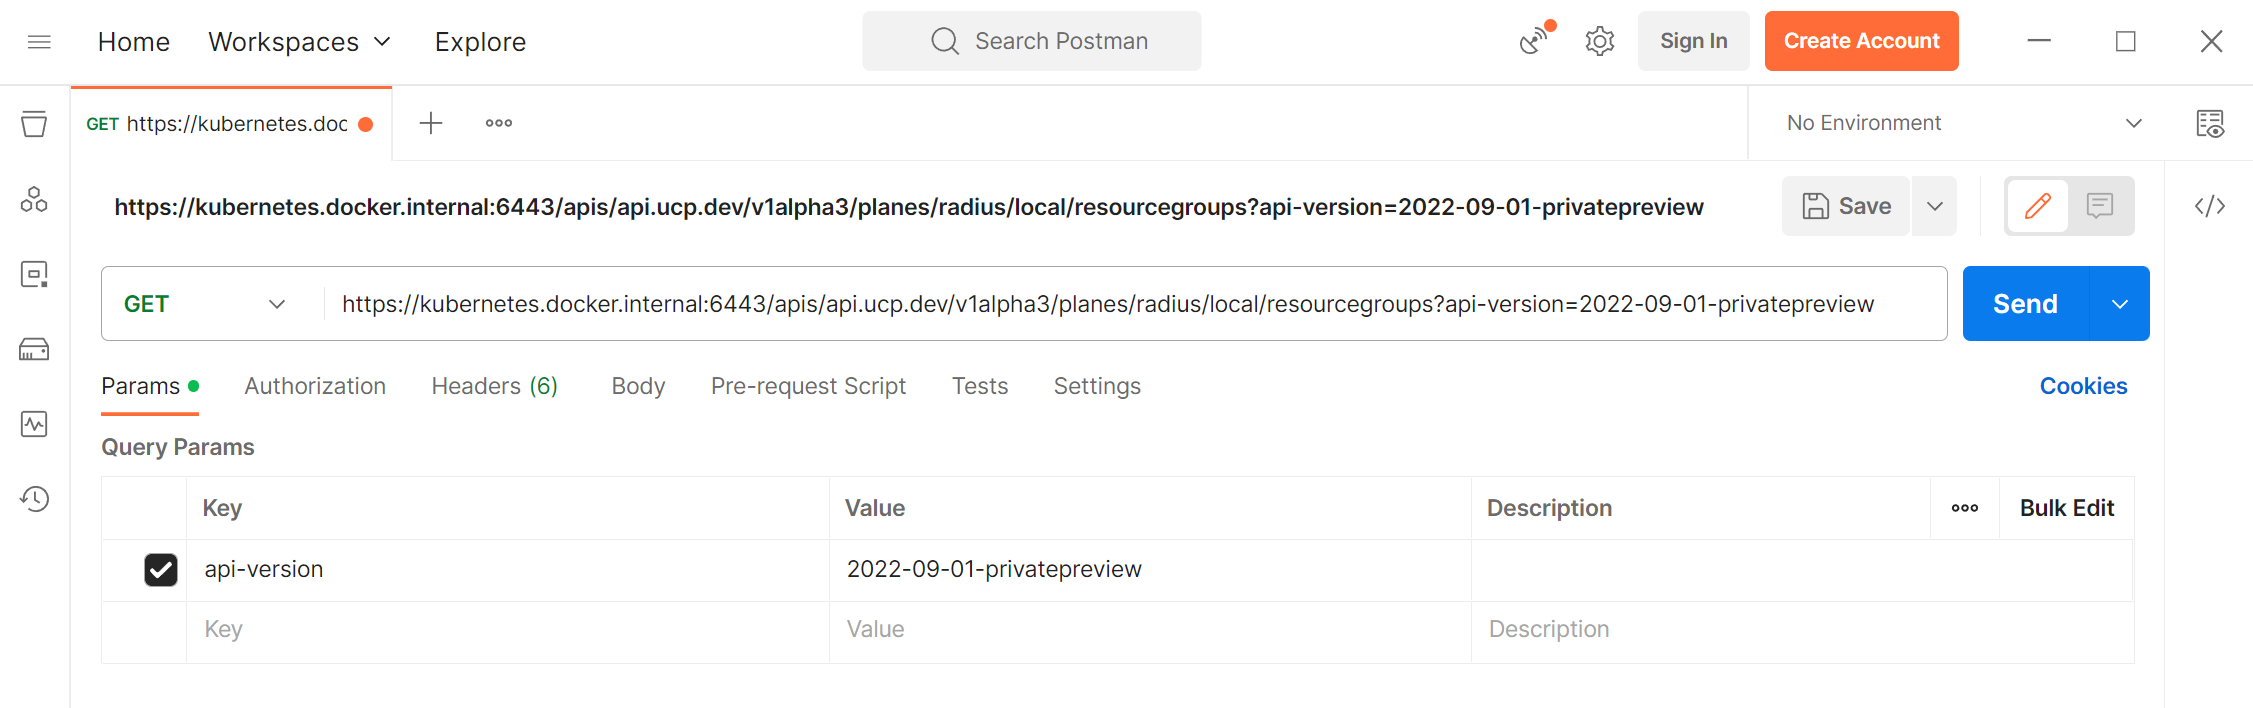
Open the
Authorizationtab and selectBearer Tokenfrom theTypedropdown. Paste the token you generated in step 2 into theTokenfield:
Click the
Sendbutton to send the request. You will now see your resource groups:{ "value": [ { "id": "/planes/radius/local/resourcegroups/default", "location": "global", "name": "default", "tags": {}, "type": "System.Resources/resourceGroups" } ] }Update your request URL to list all the Radius Environments in your resource group (make sure to update the name of your resource group in the URL. In this example the resource group name is default):
<your-cluster-control-plane>/apis/api.ucp.dev/v1alpha3/planes/radius/local/resourcegroups/default/providers/Applications.Core/environments?api-version=2023-10-01-previewYou should now see your Radius Environment(s):
{
    "value": [
        {
            "id": "/planes/radius/local/resourcegroups/default/providers/Applications.Core/environments/default",
            "location": "global",
            "name": "default",
            "properties": {
                "compute": {
                    "kind": "kubernetes",
                    "namespace": "default"
                },
                "provisioningState": "Succeeded",
                "recipes": {...},
            },
            "systemData": {...},
            "tags": {},
            "type": "Applications.Core/environments"
        }
    ]
}
Next step: Explore the Radius API
Now that you have successfully authenticated to the Radius API and interacted with resources, you can explore the API using the Radius API reference.
Feedback
Was this page helpful?
Glad to hear it! Please feel free to star our repo and join our Discord server to stay up to date with the project.
Sorry to hear that. If you would like to also contribute a suggestion visit and tell us how we can improve.