How-To: Patch Kubernetes resources using PodSpec
Categories:
This how-to guide will provide an overview of how to:
- Patch Radius-created Kubernetes resources using PodSpec definitions
Prerequisites
Step 1: Define a container
Begin by creating a file named app.bicep with a Radius container:
extension radius

@description('Specifies the environment for resources.')
param environment string

resource app 'Applications.Core/applications@2023-10-01-preview' = {
  name: 'demo'
  properties: {
    environment: environment
  }
}

resource demo 'Applications.Core/containers@2023-10-01-preview' = {
  name: 'demo'
  properties: {
    application: app.id
    container: {
      image: 'ghcr.io/radius-project/samples/demo:latest'
      ports: {
        web: {
          containerPort: 3000
        }
      }
    }
  }
}
Step 2: Deploy the app and container
Deploy and run your app:
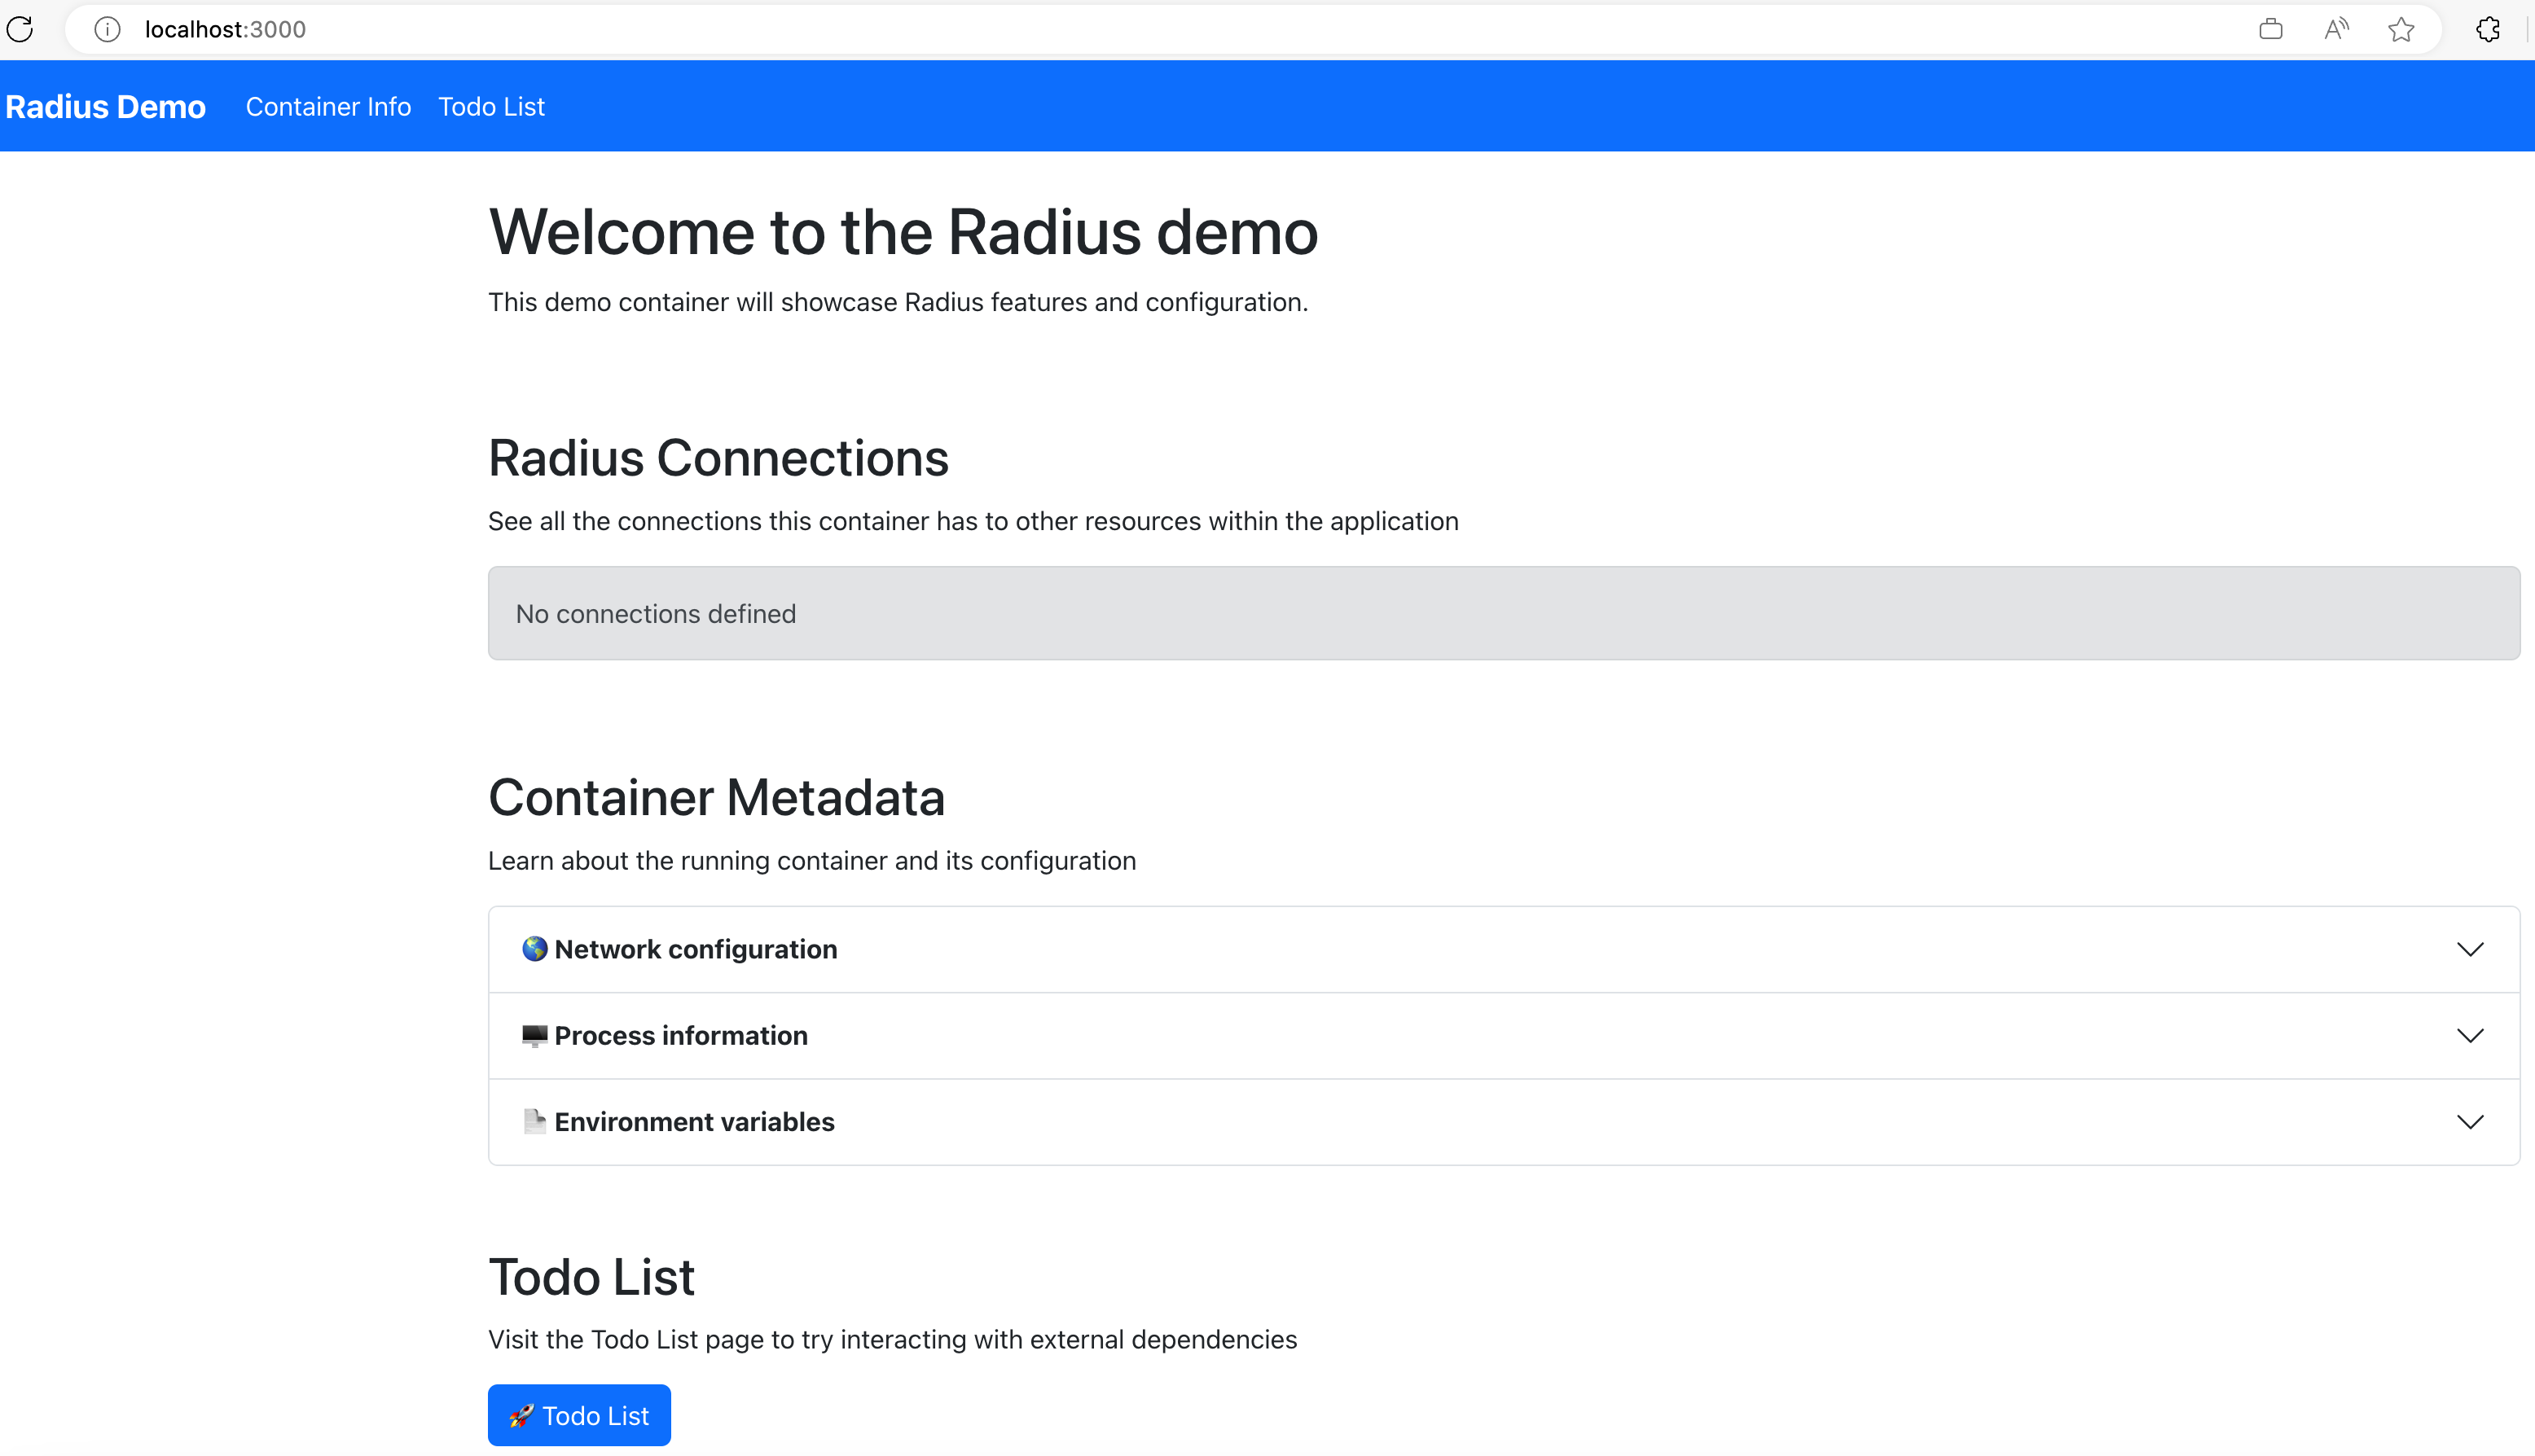
rad run ./app.bicep -a demoOnce the deployment completes successfully, you should see the following confirmation message along with some system logs:
Deployment Complete

Resources:
   demo            Applications.Core/applications
   demo            Applications.Core/containers

Starting log stream...

+ demo-df76d886c-sngm8 › demo
demo-df76d886c-sngm8 demo Using in-memory store: no connection string found
demo-df76d886c-sngm8 demo Server is running at http://localhost:3000
demo-df76d886c-sngm8 demo [port-forward] connected from localhost:3000 -> ::3000
Access the application by opening http://localhost:3000 in a browser, where you should see the demo app:
When you’re ready to move on to the next step, useCTRL+Cto exit the command.Run the command below, which will list the pods in your Kubernetes cluster, using the
-oflag to specify the relevant information to output:kubectl get pods -A -l app.kubernetes.io/name=demo -o custom-columns=POD:.metadata.name,STATUS:.status.phase,CONTAINER_NAMES:spec.containers[:].name,CONTAINER_IMAGES:spec.containers[:].imageYou should see output confirming that a single container named
demowas deployed and is running in your pod, similar to the following:POD STATUS CONTAINER_NAMES CONTAINER_IMAGES demo-df76d886c-9p4gv Running demo ghcr.io/radius-project/samples/demo:latest
Step 3: Add a PodSpec to the container definition
Add the following runtimes configuration to the container definition in your app.bicep file. This allows you to punch through the Radius abstraction and directly apply any part of the Kubernetes PodSpec. In this example you’re adding an additional sidecar container:
| |
Remember to save your
app.bicepfile after you’ve made the above changes.
Step 4: Redeploy your app with the PodSpec added
Deploy and run your app again:
rad run ./app.bicep -a demoOnce the deployment completes successfully, you should see the same deployment completion confirmation message as before, but this time with some system logs from
log-collectorstreaming to your console output:Starting log stream... + demo-547d7dc77f-nmqpk › log-collector + demo-547d7dc77f-nmqpk › demo demo-547d7dc77f-nmqpk log-collector Fluent Bit v2.1.8 demo-547d7dc77f-nmqpk log-collector * Copyright (C) 2015-2022 The Fluent Bit Authors demo-547d7dc77f-nmqpk log-collector * Fluent Bit is a CNCF sub-project under the umbrella of Fluentd demo-547d7dc77f-nmqpk log-collector * https://fluentbit.io demo-547d7dc77f-nmqpk log-collectorAccess the application by opening http://localhost:3000 in a browser, where you should see the demo app again unchanged from before:
When you’re ready to move on to the next step, useCTRL+Cto exit the command.Run the command below, which will list the pods in your Kubernetes cluster, using the
-oflag to specify the relevant information to output:kubectl get pods -A -l app.kubernetes.io/name=demo -o custom-columns=POD:.metadata.name,STATUS:.status.phase,CONTAINER_NAMES:spec.containers[:].name,CONTAINER_IMAGES:spec.containers[:].imageYou should now see in the output the original
demoapp container as before, but also an additionallog-collectorcontainer that is running in your pod, similar to the following:POD STATUS CONTAINER_NAMES CONTAINER_IMAGES demo-547d7dc77f-nmqpk Running log-collector,demo ghcr.io/radius-project/fluent-bit:2.1.8,radius.azurecr.io/tutorial/webapp:latestNote that you might see old pods with a state of
Terminatingin the output - this is normal and you should see them disappear once the redeployment completes cleaning up the old resources.The
log-collectorcontainer was deployed using the PodSpec definition you added to yourapp.bicepfile in theruntimesproperty you added, and is now running alongside your originaldemoapp container.
Cleanup
Run the following command to delete your app and container:
rad app delete demo
Further reading
Feedback
Was this page helpful?
Glad to hear it! Please feel free to star our repo and join our Discord server to stay up to date with the project.
Sorry to hear that. If you would like to also contribute a suggestion visit and tell us how we can improve.